

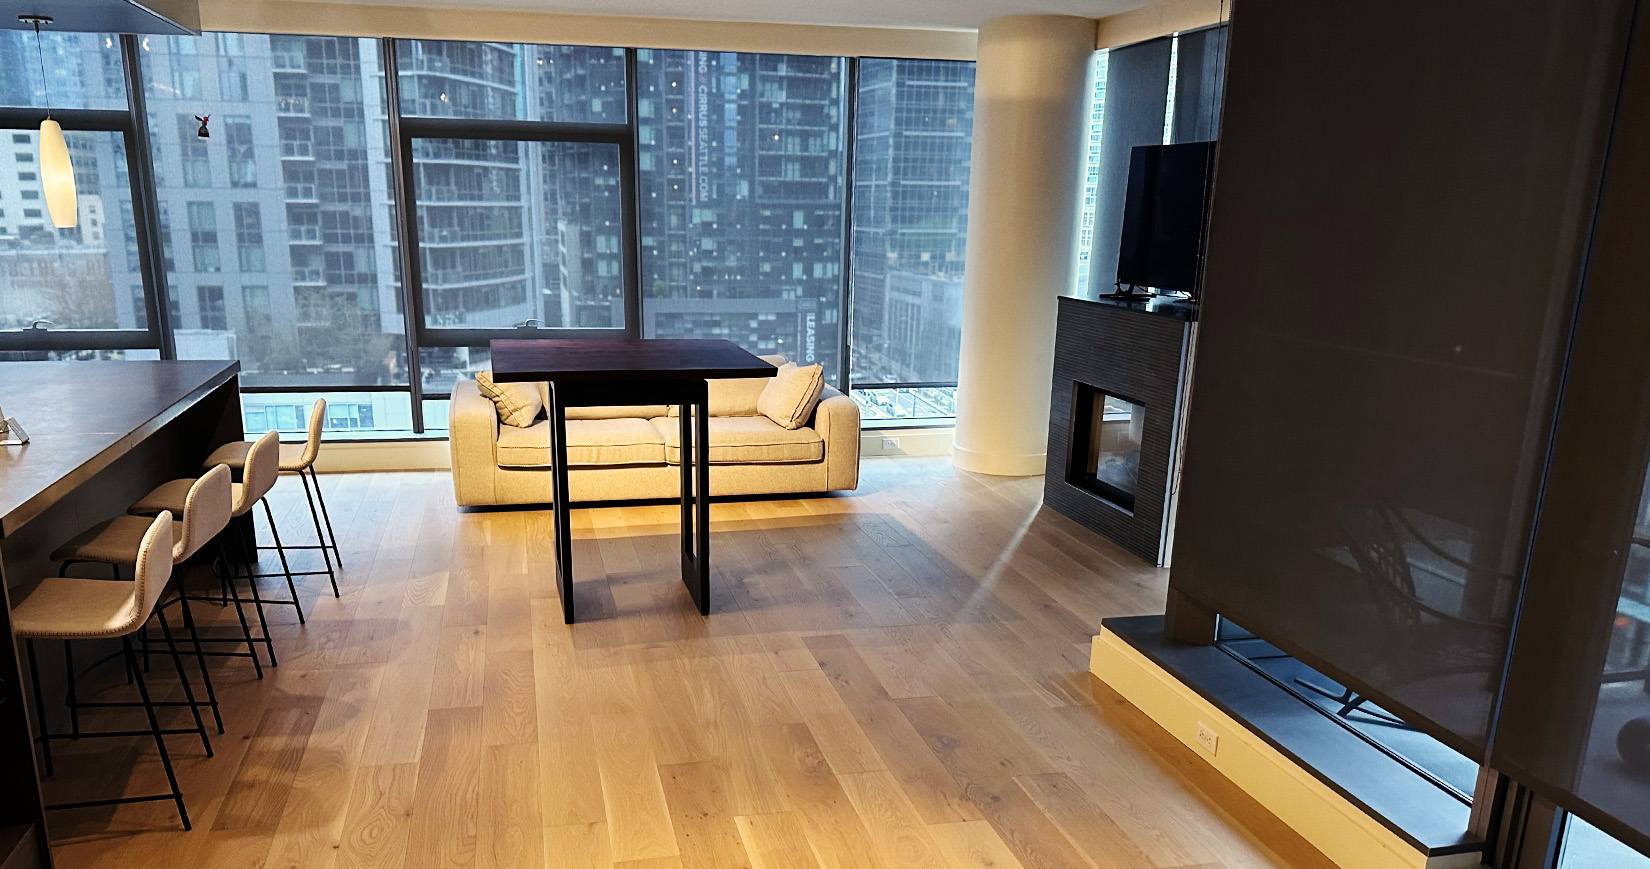
Picture this: your condo renovation is underway, cabinets are on order, paint colors are picked, and then someone asks, “So… when are the new floors going in?” In a smaller condo, one bad timing decision can throw off the whole remodel — or leave you living in a construction zone longer than you planned.
This guide walks through a realistic flooring timeline for condo projects near the Jersey Shore, so you know what happens first, what can overlap, and how long each step usually takes.
1. Planning, Measurements, and Approvals (1–3 weeks)
Before anyone pulls up a single board, you’ll want three things in place: product decisions, measurements, and building approvals.
Start by narrowing down materials that fit condo life — quiet underfoot, easy to clean, and stable in our humid, salt-air climate. Many owners begin with laminate or other hard surfaces in main living areas, then add area rugs for warmth and sound control. Browsing different laminate flooring options ahead of time makes your in-person selections go much faster.
Next comes measuring and layout planning. In a condo, this isn’t just about square footage. We look at:
- Where transitions will fall at doorways
- How planks will run to make rooms feel larger
- How to handle existing tile in kitchens or baths
Those details feed into the professional flooring installation plan, so your new surfaces line up cleanly and pass building inspections.
Finally, factor in condo association rules. Many buildings require:
- Approval of underlayment for sound control
- Proof of contractor insurance
- Work hours limited to weekdays
Getting those sign-offs early keeps the rest of the schedule on track.
2. Ordering Materials and Lead Times (1–4 weeks)
Once you’ve signed off on the layout and product list, materials are ordered. Timing here depends on what you choose:
- In-stock products can be ready almost immediately.
- Special-order colors or wider planks may take a few weeks, especially during busy renovation seasons.
Because everything has to come through elevators, hallways, and shared entries, we also plan deliveries carefully so pallets aren’t blocking neighbors. Looking at the wider product mix — from luxury vinyl plank options to traditional hardwood — can help you balance style with what’s actually available on your remodel timeline.
A good rule of thumb: don’t schedule demolition until you know key materials are either in the showroom or confirmed to arrive before installation day.
3. Demo, Subfloor Work, and Prep (1–3 days for most condos)
With materials on hand, the “messy” part begins. In a condo, prep is as much about logistics as it is about tools.
Day one usually focuses on:
- Protecting hallways and elevator interiors
- Removing old carpet, laminate, or nailed-down wood
- Hauling debris out without tracking dust through common areas
Once old floors are up, we inspect and correct the subfloor. This can include tightening squeaks, leveling low spots, or replacing damaged sections. The better this stage is done, the smoother your new floor will feel and the longer it will last.
If you’re also updating stairs or want a softer walking surface in bedrooms, this is when we talk about how a CRI-standard carpet installation might fit into the same timeline or follow as a second phase.
4. Installation, Finishing Touches, and Move‑Back (1–5 days)
Once prep is complete, the visible transformation moves quickly.
For a typical two-bedroom condo:
- Click-together laminate or floating luxury vinyl can often be installed in 1–3 days.
- Glue-down products or mixed-material layouts (for example, tile in the kitchen with laminate in living areas) may stretch closer to a week.
During this phase we:
- Stagger plank joints for strength and appearance
- Cut around columns, sliders, and built-ins for a tight fit
- Install transitions at bathrooms, laundry rooms, and the entry
The last day is for details: baseboards or shoe molding, final cleanup, and a walkthrough. If you’re a visual thinker, browsing examples of our recent work can help you picture how those finishing touches change the feel of a space.
Most hard-surface floors can be walked on shortly after installation, but heavy furniture and area rugs should wait until the adhesive (if used) has fully cured. We’ll let you know exactly when it’s safe to move everything back.
5. Aftercare in a Shore-Area Condo (First 30 days and beyond)
The first month is about letting your floors acclimate and building good habits that handle sand, humidity, and daily wear.
For Shore condos, that usually means:
- Entry mats to catch grit before it scratches
- Felt pads under chairs and barstools
- A simple cleaning routine that doesn’t flood the floor with water
If you add custom rugs or runners to soften noise between units, a custom runner tailored to your dimensions can protect high-traffic paths without hiding your new surfaces.
A clear timeline makes condo remodeling calmer and more predictable. If you’d like help mapping out dates around your contractor’s schedule and your building’s rules, you can request a free estimate and we’ll walk through a step-by-step plan for your specific unit.


