

You finally booked the contractor for that kitchen overhaul, you’re eyeing new floors for the main level, and maybe there’s a painter and electrician in the mix too. The question that stops a lot of New Jersey homeowners is simple: what happens first? If you get the order wrong, you risk scratched planks, torn-up thresholds, or paying twice for work that had to be undone.
Below is a practical, NJ-focused way to time new floors with the rest of your renovation so everything runs smoothly instead of chaotically.
Step 1: Plan Floors While You’re Still on Paper
Before anyone swings a hammer, you want flooring decisions on the table. That doesn’t mean every plank is picked out, but it does mean you’ve answered a few key questions:
- Which rooms are getting new material now, and which can wait?
- Are walls moving, doorways changing, or cabinets being reconfigured?
- Do you have any tricky zones like basements, entryways, or baths that see a lot of moisture?
Talking through these points early with a contractor and a flooring pro lets you build a realistic sequence instead of reacting as issues pop up. When we map out a project, we also look at subfloor conditions, because our professional flooring installation includes prep and tear‑out that may affect other trades’ timing.
Step 2: Do the Messy Structural and Mechanical Work First
Anything that opens walls, ceilings, or floors should happen before new surfaces go down. That usually includes:
- Demolition and framing
- Electrical, plumbing, and HVAC changes
- Window or exterior door replacements
- Major drywall work
All of that kicks up dust and involves heavy tools moving in and out. In older shore-area homes, this is also when surprises like soft subfloors or previous water damage tend to show up. Fixing those issues before installation keeps you from patching brand-new material later, and it may even influence which laminate flooring options or hardwood constructions make the most sense.
Step 3: Decide Where Floors Fit Around Cabinets and Paint
This is the step that creates the most confusion, especially in kitchens and baths.
Cabinets vs. floors: For most NJ projects with click‑lock LVP or laminate, floors typically run up to the cabinet toe kick rather than underneath the boxes. That keeps material use and cost reasonable while still giving a clean, continuous look. With nailed-down hardwood, you have more flexibility either way, but you still don’t want base cabinets installed on top of floating products.
Paint vs. floors: Walls and ceilings are usually primed and get at least one coat before installation. Final touch‑ups happen after. That way, you’re not asking painters to work over finished surfaces any more than necessary. Once layout is clear, you can compare engineered and solid hardwood options or waterproof vinyl for each room and lock in your material order so it arrives in time.
If you’re planning a more contemporary look—say, polished concrete in a lower level or workspace—that system becomes its own “trade” with grinding and sealing. It makes sense to understand the polished concrete process early so you know how long the slab will be off‑limits before other finishes go in.
Step 4: Install Floors, Then Finish Trim and Fixtures
Once the messy work is complete and walls are mostly finished, it’s time for floors. In a typical NJ coastal renovation, the sequence looks like this:
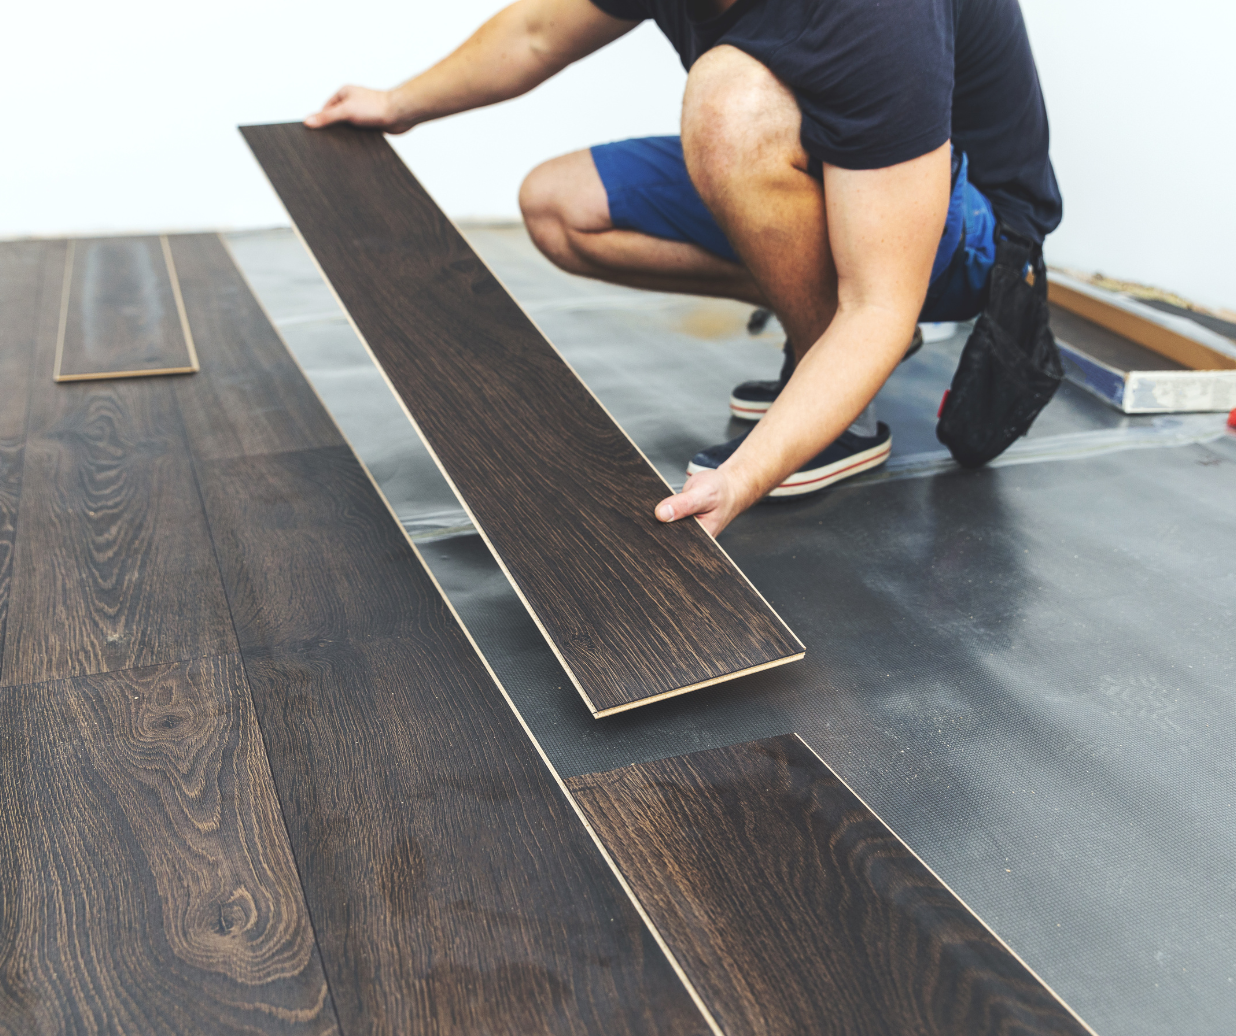
- Subfloor prep and installation. Crews level, repair, and install your new material. That’s when protection really matters, especially with sand and grit common near the shore. A good installer will cover finished areas as they move through the house.
- Baseboards and casing. After floors are down, trim is installed and caulked for a tight, finished line.
- Final paint touch‑ups and punch list. Painters address nail holes and minor scuffs; other trades set appliances, plumbing fixtures, and lighting.
If you’re layering softness and sound control over hard surfaces—like runners on stairs or a large rug in an open family room—it can help to think about those at the same time. A custom runner tailored to your dimensions or a properly sized area rug can protect new hardwood, tame echo, and make stairs safer for kids and older family members.
Step 5: Phase Floors Room by Room When You Can’t Do It All
Not every project in Belmar or nearby towns is a single, whole‑house overhaul. Sometimes you’re doing the kitchen and hallway now, bedrooms next year, and the basement after that. In those cases:
- Start with the hardest‑working, most disruptive spaces (kitchen, main hall, entry).
- Use similar thicknesses and compatible products so transitions stay low‑profile.
- Think ahead about how rugs, runners, or future upgrades will interact with today’s choices.
If you’re unsure how all the pieces come together, it can help to look at examples of our recent work to see how other Jersey Shore homeowners have sequenced their projects and tied different materials together.
Renovations always involve a few surprises, but getting the order right goes a long way toward avoiding damage, delays, and rework. If you’d like help mapping out where new floors should land in your project—and which materials make sense for your specific rooms and timeline—you can request a free estimate and we’ll walk through it with you step by step.


