

You know your floors are ready for a reset when every room tells a different story—yellowed vinyl in the kitchen, squeaky hallways, and carpet that never quite looks clean no matter how often you vacuum. Thinking about changing everything at once can feel exciting and overwhelming, especially when you start wondering what the final number will be.
Instead of guessing, it helps to break a whole-home flooring upgrade into clear decisions: where the money actually goes, which rooms deserve top priority, and how material choices can stretch your budget without feeling like a compromise.
Step 1: Decide What “Whole-Home” Really Means
“Whole-home” doesn’t always mean every square foot from attic to basement. For many homeowners, it really means the spaces you live in every day: main living areas, hallways, and bedrooms, with kitchens and baths handled a bit differently.
Start by listing each zone and its job:
- Main living / dining and hallways
- Bedrooms and flex rooms
- Kitchen, baths, and laundry
- Stairs and landings
High-traffic paths typically deserve more of your budget because that’s where wear shows first. A continuous surface through living areas can make the house feel larger and calmer, which is where professional flooring installation services really pay off. A good installer will also spot subfloor issues early, so you don’t blow the budget on surprise repairs halfway through the project.
Key idea: Define the “must-do now” spaces and the “can wait a year” rooms. That alone gives you a phased budget instead of one giant, fuzzy number.
Step 2: Match Materials to Traffic, Moisture, and Budget
Once you know which rooms are in play, you can start matching materials to real-life conditions instead of picking purely by looks.
For many Jersey Shore homes, laminate has become a go-to option because it offers the look of wood at a friendlier price point and stands up well to pets, kids, and constant foot traffic. If you’re trying to keep costs predictable, it’s worth spending a few minutes browsing laminate flooring styles to see how wide the range really is—from basic planks for secondary bedrooms to more realistic textures for main living areas.
Kitchens, bathrooms, and entries that see extra moisture might call for a different surface, even if the rest of the house is laminate. That doesn’t mean you have to abandon the idea of a cohesive look; it just means planning smart transitions where water is more likely to sit on the floor.
Key idea: You don’t have to choose one material for every room, but using a consistent surface wherever possible usually lowers installation complexity and helps your budget go further.
Step 3: Understand Where the Money Actually Goes
When people think “new floors,” they usually picture the square-foot price on the display tag. In reality, your total spend is a mix of materials, prep, and labor.
A professional crew will look at:
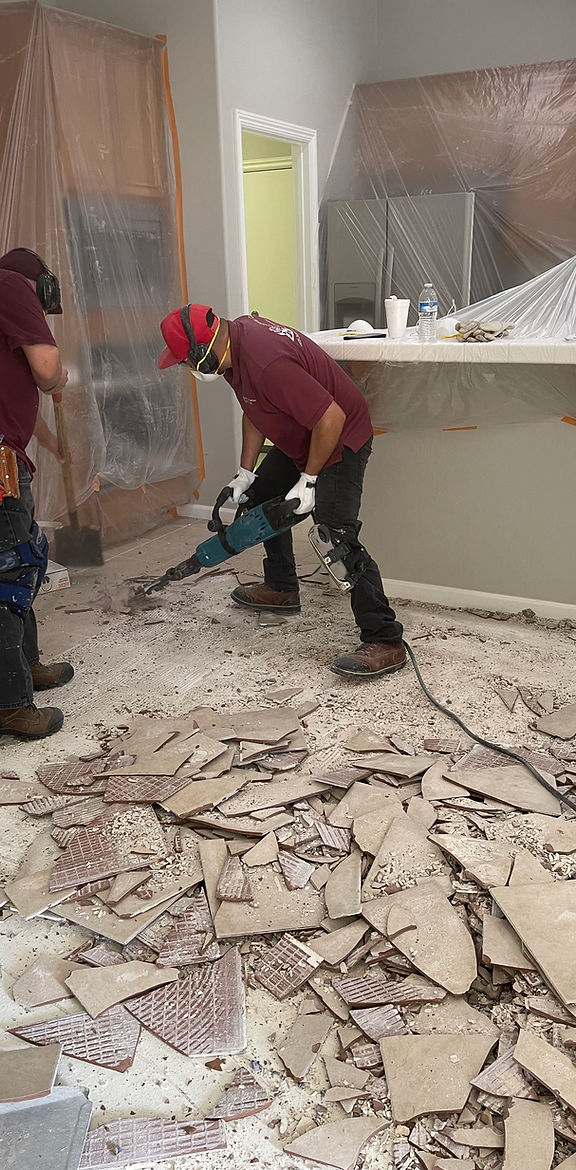
- Tear-out and disposal of old flooring
- Subfloor repairs or leveling
- Underlayment or moisture barriers where needed
- Installation, trims, and transitions
Spending a little more on prep often prevents bigger bills later, especially in older coastal houses where humidity and past leaks may have left hidden damage. Having an experienced team handle professional installation also gives you a clearer warranty path if anything goes wrong.
If you’re trying to hold the line on cost, one practical strategy is to choose a mid-range material and keep the layout simple—fewer fancy patterns, fewer abrupt transitions, and one main product running through as many rooms as makes sense.
Key idea: Budget isn’t just “what floor do I like?” It’s “what will it take to make that floor perform well for the next 10–15 years?”
Step 4: Build a Realistic Number and Timeline
Once you’ve narrowed down rooms and materials, you’re ready to turn ideas into actual figures. A good estimate will separate material and labor, note any assumptions about subfloor work, and outline the expected schedule so you know how long each part of the home will be disrupted.
If you’re still early in planning, you can treat the first quote as a working draft. Maybe you decide to upgrade the living room material and use a more budget-friendly option in guest bedrooms. Maybe you shift a secondary hallway to a later phase. The point is to align the plan with what you’re comfortable investing this year instead of guessing and hoping.
When you’re ready to see real numbers for your own house, you can request a free estimate and talk through options that fit both your space and your budget.
A whole-home floor upgrade doesn’t have to be a financial mystery. Define which rooms truly matter, choose materials that match how you live, and let expert installation handle the details you can’t see once the planks go down. With a clear plan and a realistic estimate, you can move from “someday we should redo these floors” to walking into a home that finally feels pulled together from room to room.


