How Should I Go About Installing A Hardwood Floor In My Home?
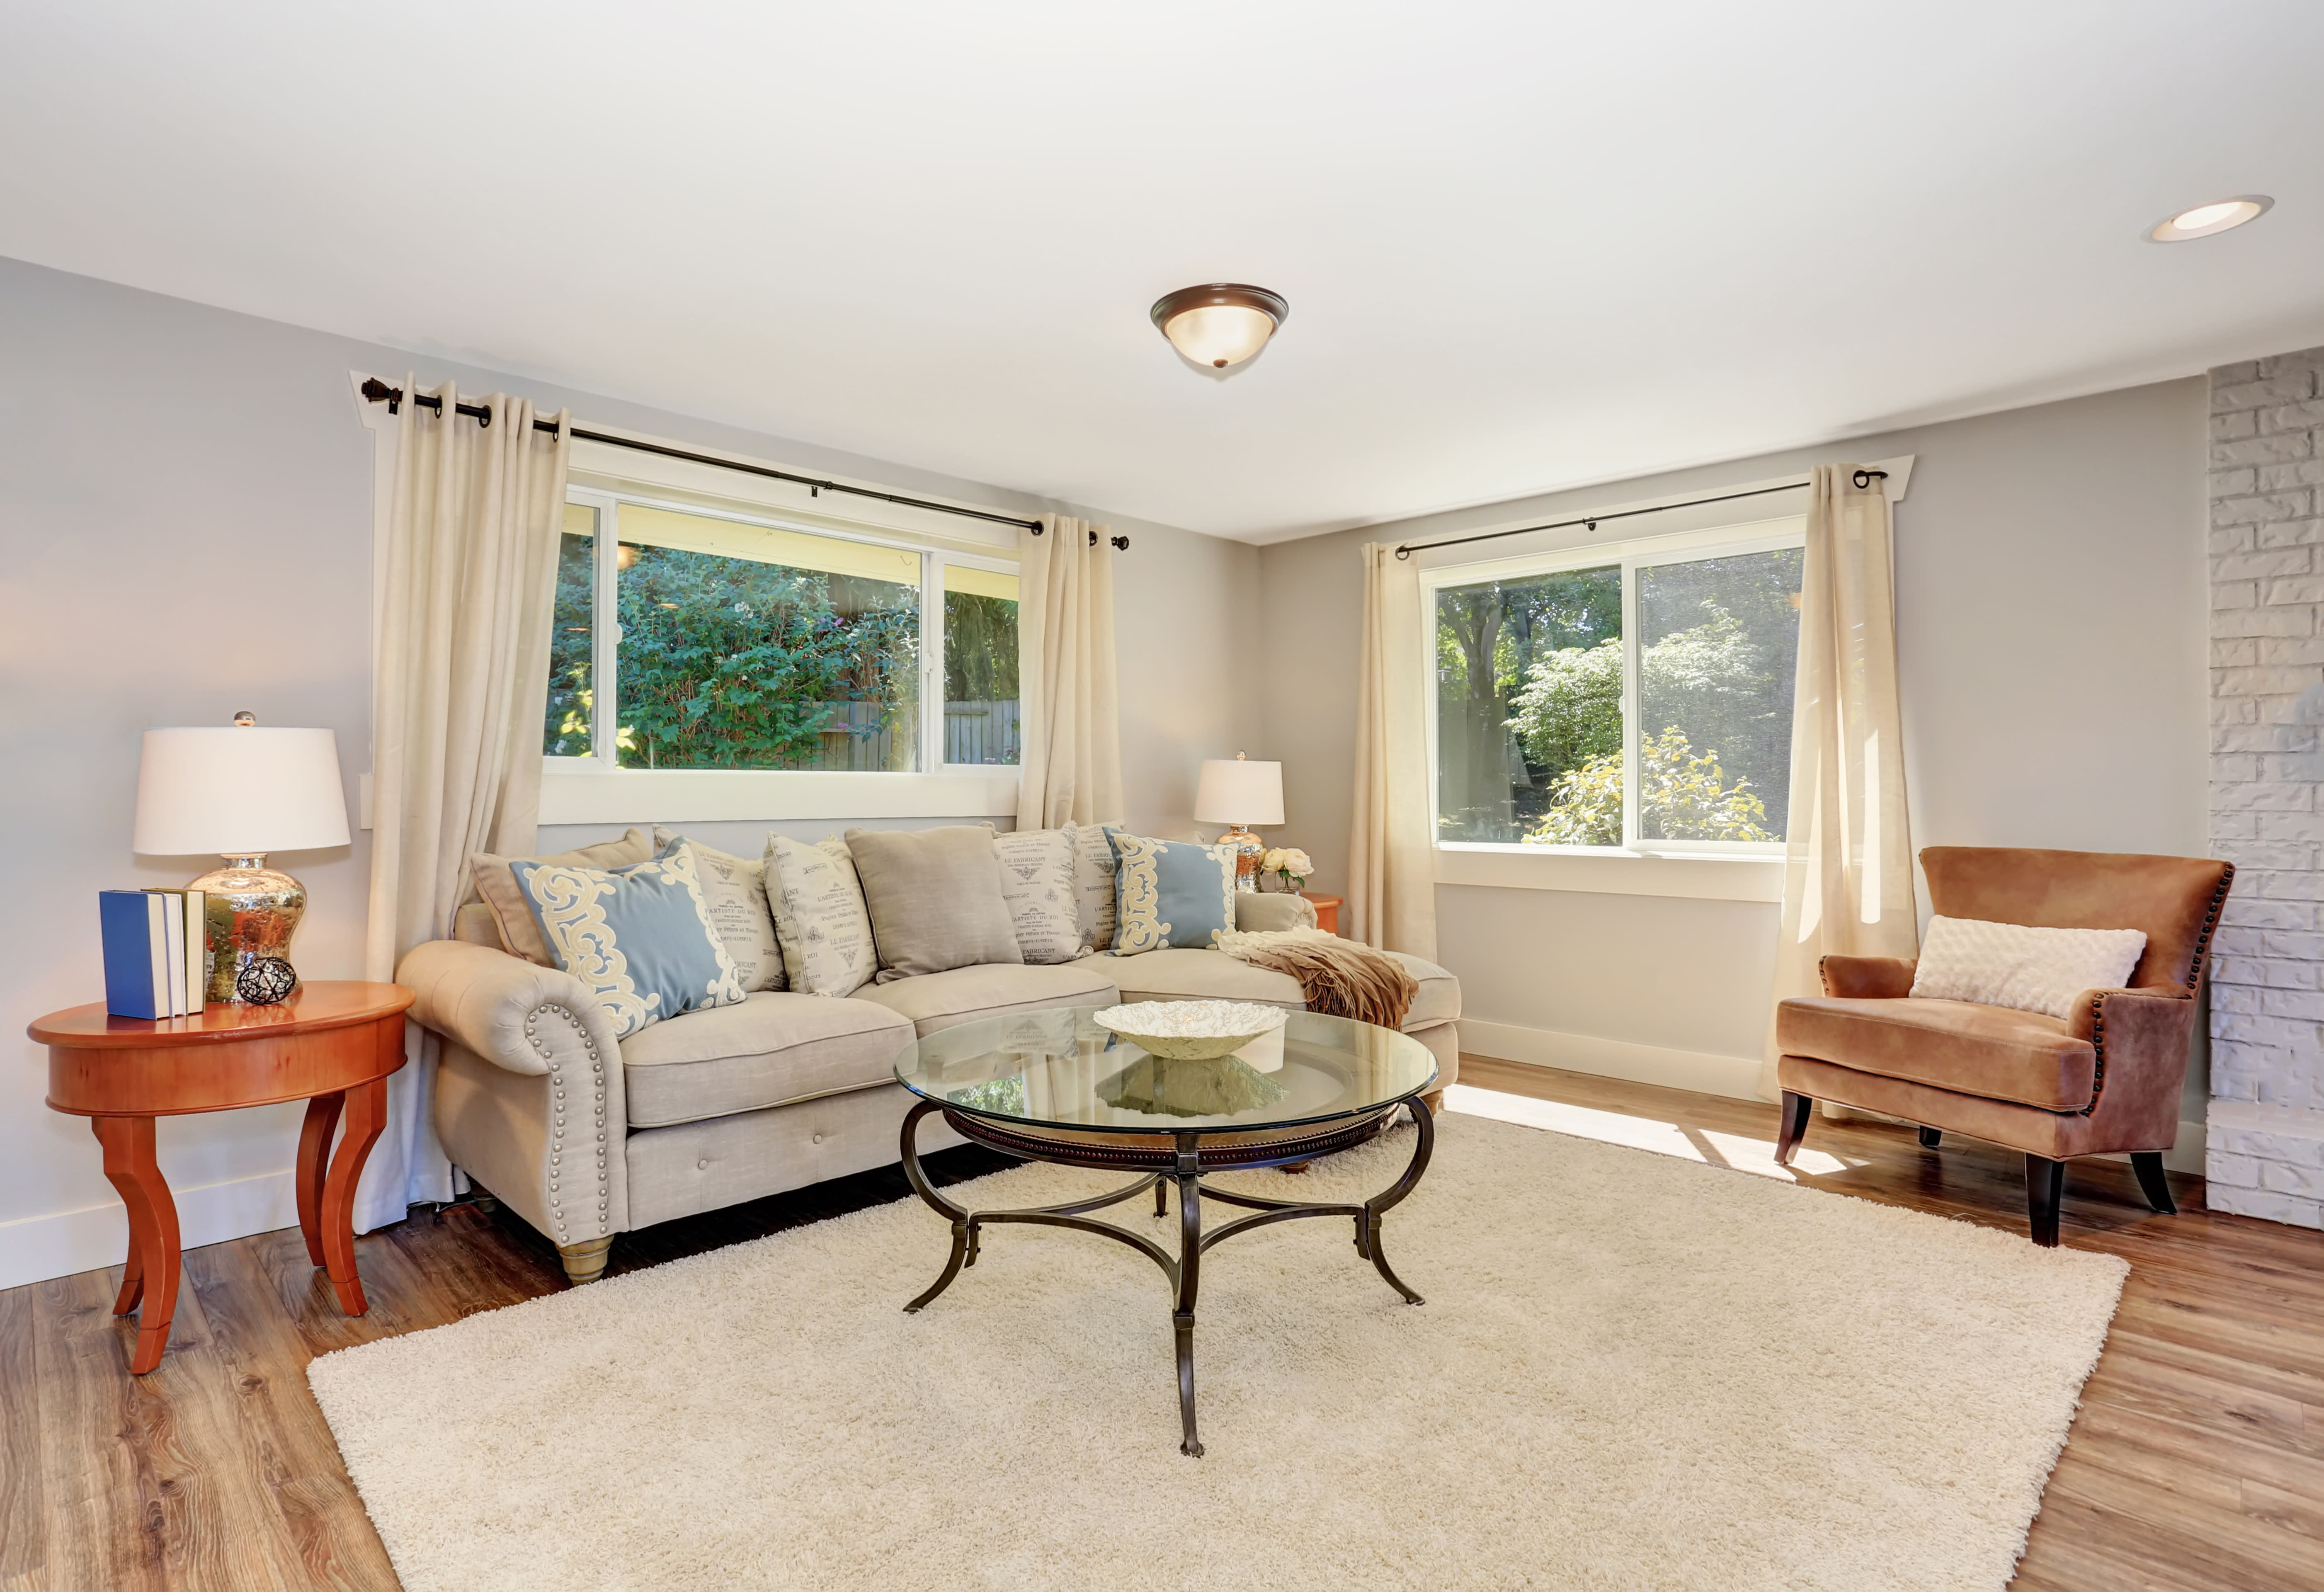
Hardwood flooring is one of the most popular types of floors around these days. As well as being very easy on the eye, they also happen to be one of the easiest to install.
So, if you’re interested in installing hardwood flooring, then this guide will assist you with everything. It doesn’t matter if you’re looking to do it yourself or hire professionals; follow these tips for perfect hardwood floor installation.
Top Things to Consider Before Purchasing Hardwood
Before you go any further, there are things to think about before you actually buy your wood floor. Essentially, this will help you plan everything better, which makes the installation process less stressful!
Here are the main things that need to be on your mind:
- What type of hardwood flooring shall you use? There are plenty of options out there when choosing solid hardwood flooring. As it mentions on The Spruce, it’s available in “many wood species with different grain patterns, and it can be stained in an almost infinite range of hues”. So, consider what style you want, and this will help you narrow down your search.
- How much can you afford? It’s vital to set a budget when thinking about hardwood floor installation. Understand what you can afford, and this helps you make your purchases without overspending.
- Where is it being installed? With flooring installation, a lot depends on the kind of location you’re working with. Is this being fixed in a bedroom, living area, or hallway? The location can pose specific challenges, which can help you figure out if this is a DIY job or one for the professionals instead.
After mulling over these questions, you should be in a place where you’ve got your hands on some quality wood flooring, and you’re ready to proceed with the installation.
Preparing to Install Hardwood Floor
Naturally, there are a few things you need as you prepare to install your brand new flooring in a home residence. Ideally, you shouldn’t begin until you have all of these things:
- Floor Nail Guns
- Acceptable Subfloor
- Knee Pads
- Dust Mask
- Drills
- Saws
- Hammers
- Measuring Tape/Ruler
- Felt Paper
- Floor Finish (Can be Oil based or Water Based Polyurethane)
- Mason’s Line
The good news is, you should have most of these things if you’re a regular DIYer, which tends to mean you only need to get your hands on the nail guns and felt paper. Regardless, ensure you have all of these things before you begin.
What Is an Acceptable Subfloor?
This is the only thing you need that’s not actually a tool or device. The simple definition is that it’s the floor below your actual flooring. It forms the foundation for you to lay down your oak floor, and you need to ensure it’s acceptable.
There are plenty of options available, of which you can see in this article here. As a general rule, CDX plywood is the best option. You will need to remove your existing flooring and lay down your subfloor before you start installing the hardwood floor. In many cases, you should already have suitable subflooring, and you just need to clean it.
One final point about preparing for installation; make sure you let your new flooring acclimatize to the environment it’s in. Typically, you need to leave the flooring in the room for at least five days before you start laying it down. This ensures that it adapts to the temperature of the room, which leads to a much better installation for you.
The Installation Phase
Now, you’re finally ready to proceed with installing this new wood flooring. So, follow all of the steps detailed down below:
Step 1: Cover The Subfloor & Make Measurements
The first step involves using your felt paper to cover the subflooring. This adds a layer of protection between your hardwood flooring and the subfloor – while also ensuring there’s an excellent even base to start laying the wooden planks on.
After you’ve done this, you need to measure the width of your floorboards at the end of each wall. Add a couple of extra inches, then make a mark on the wall. Get your hammer and smash a nail into the mark in each wall, then attach a mason’s line between the two.
Step 2: Lay down the First Board
Start laying down the first board along the mason’s line. The key here is to ensure the tongue (the little sticky out bit) faces inside the room. Drill a hole an inch into the face of the board and hammer a nail through to secure it in place.
Step 3: Lay down the Rest
From here, you can start securing the other pieces of flooring together. When you lay down a new section, make sure the tongue of the piece next to it is inserted into the groove of the new one. This guarantees that the flooring stays securely in place, and you should nail down the boards through the tongue for additional security.
After you’ve completed a few rows, you can get out your floor nail gun to use instead of a hammer. This will speed everything up, and you will quickly lay down all the boards in whatever style you want to create a nice wooden look.
Step 4: Refinishing
When the flooring is installed, you need to get your finish out to cover your boards. Hardwood floor refinishing is an essential step to give your floor a nice shiny look, while also protecting it. You can refinish wood floors with either oil or water-based products, both of which have their pros and cons.
Key Tips
These steps are the basic steps to follow if you want to install hardwood flooring in your home. But, there are some essential tips to think about as well:
- Cut the flooring to fit corners, so it looks more professional – you can do this by marking it with pencil and using a saw.
- Always leave a few inches from the wall to install the trim after hardwood installation is complete.
- Set aside any bowed boards that aren’t straight – only use them if you have no other choice. In which case you can try straightening them out as well.
Conclusion
Hopefully, this shows you how to install a hardwood floor in your home. Understandably, it can be difficult for some of you to do this – what with time constraints, the costs, and general DIY ability. In which case, it can benefit you to seek out professional help! Contact Floors By The Shore today, and we will help install your floor for you. We will get the job done quickly and professionally, so you have brand new flooring in under 24hrs. Give us a call or fill in a form on our website to get your quote today.
First published on: Mar 6, 2019
Updated on: Mar 23, 2022